 Ella
Ella 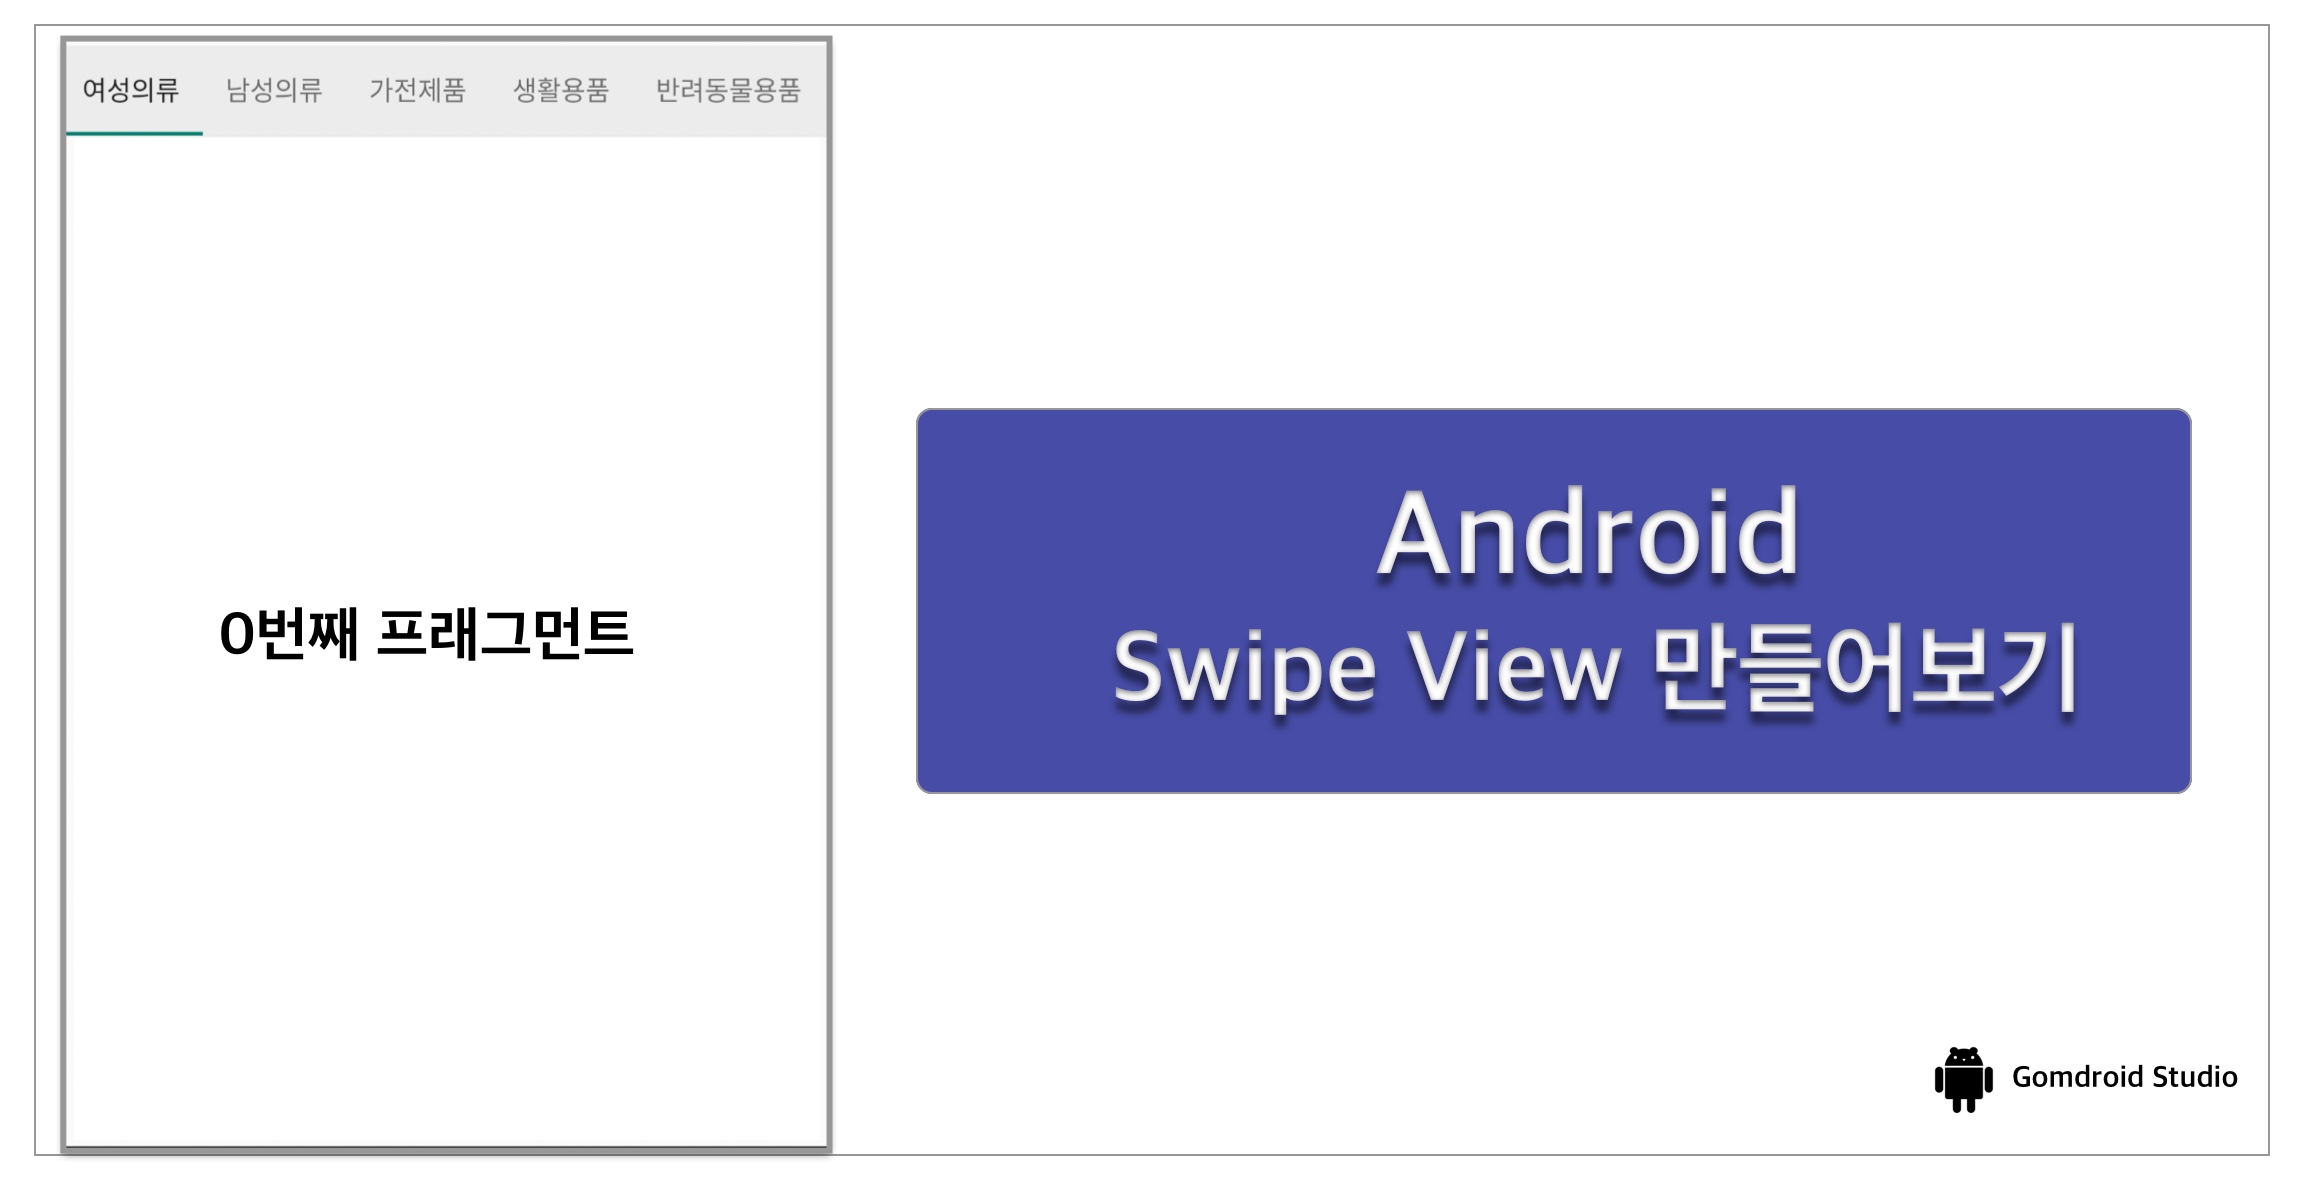
탭을 눌렀을 때, 해당 탭의 내용에 부합하는 프래그먼트를 보여주는 스와이프 뷰1를 만들어보자! 이를 위해서는 TabLayout과 ViewPager2가 필요하다. ViewPager2의 Adapter를 ‘position에 맞는 Fragment를 생성’하는 FragmentStateAdapter로 설정하고, TabLayoutMediator를 통해 TabLayout과 ViewPager2를 연결해주면 된다.
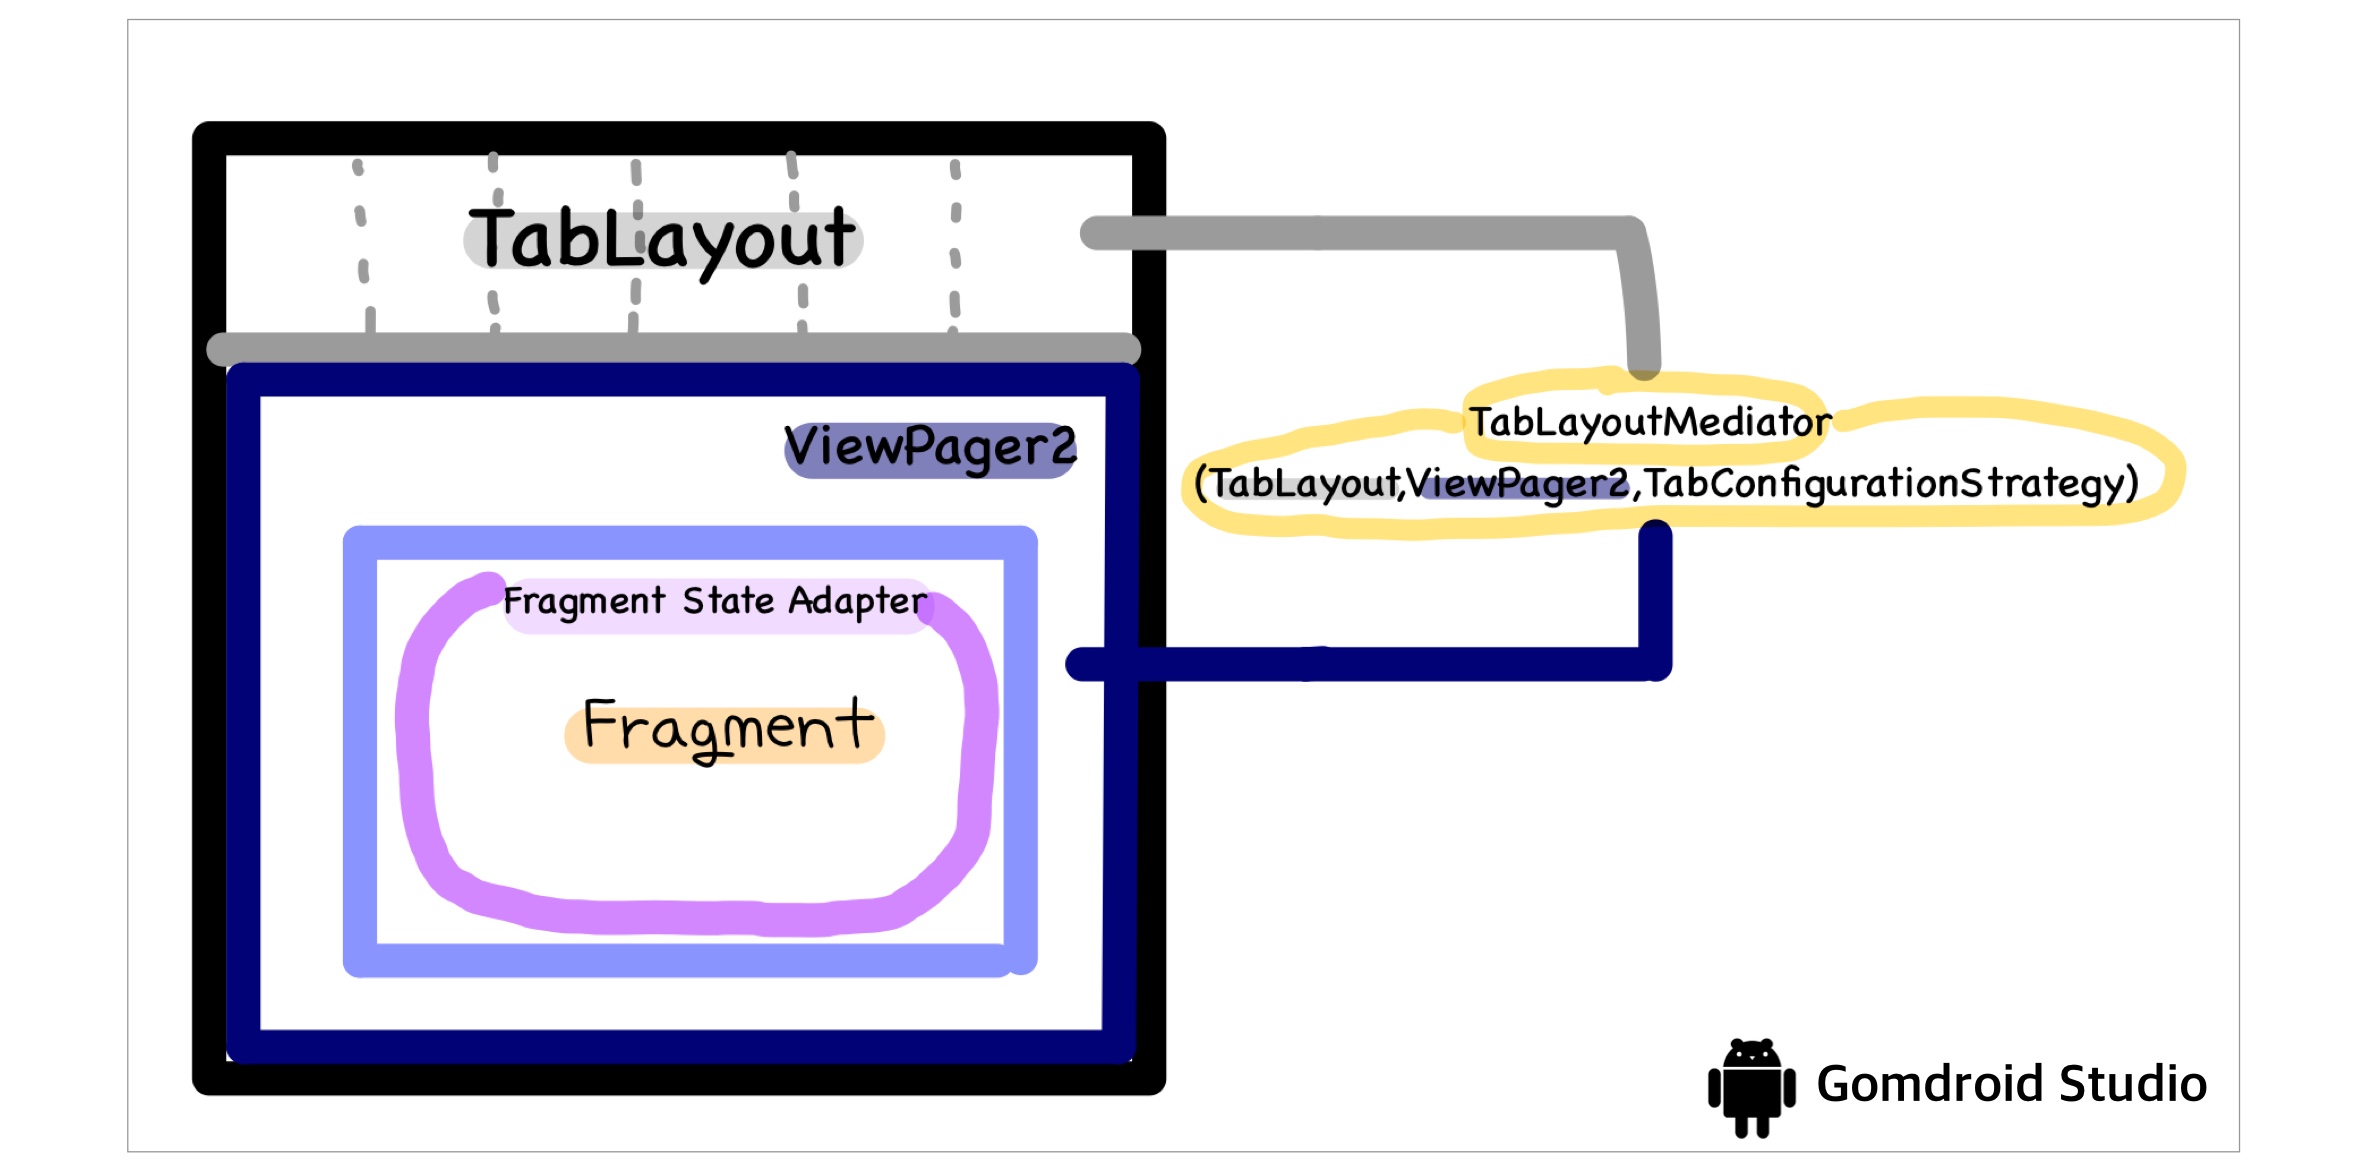
위의 그림에서처럼 TabLayout을 레이아웃의 상단에 놓고, ViewPager2를 하단에 배치한 레이아웃은 다음과 같다.
[fragment_productlist.xml]
<?xml version="1.0" encoding="utf-8"?>
<layout
    xmlns:android="http://schemas.android.com/apk/res/android"
    xmlns:tools="http://schemas.android.com/tools"
    xmlns:app="http://schemas.android.com/apk/res-auto"
    >
    <androidx.constraintlayout.widget.ConstraintLayout
        android:layout_width="match_parent"
        android:layout_height="match_parent"
        >
        <com.google.android.material.tabs.TabLayout
            android:id="@+id/tab_layout"
            android:layout_width="match_parent"
            android:layout_height="wrap_content"
            app:layout_constraintTop_toTopOf="parent"
            android:elevation="1dp"
            android:background="@android:color/background_light"
            app:tabMode="scrollable"
            app:tabGravity="fill"
            />
        <androidx.viewpager2.widget.ViewPager2
            android:id="@+id/pager"
            android:layout_width="match_parent"
            android:layout_height="0dp"
            app:layout_constraintTop_toBottomOf="@id/tab_layout"
            app:layout_constraintBottom_toBottomOf="parent"
            />
    </androidx.constraintlayout.widget.ConstraintLayout>
</layout>
프래그먼트에서 위의 레이아웃을 데이터바인딩한 FragmentProductlistBinding의 ViewPager2와 프래그먼트의 ViewPager2를 연결해주고, ViewPager2의 어답터로 FragmentStateAdapter 추상 클래스를 확장한 클래스인 ProductListAdapter를 설정했다. 그리고 TabLayout과 ViewPager2의 중재자인 TabLayoutMediator2을 이용하여 TabLayout과 Viewpager2를 연결하고 attach 해주었다.
[ProductListFragment.kt]
class ProductListFragment: DaggerFragment() {
    @Inject
    lateinit var binding: FragmentProductlistBinding

    private lateinit var productListAdapter: ProductListAdapter
    private lateinit var viewPager: ViewPager2

    .....

    override fun onViewCreated(view: View, savedInstanceState: Bundle?) {
        super.onViewCreated(view, savedInstanceState)

        binding.lifecycleOwner = this
        productListAdapter = ProductListAdapter(this)
        viewPager = binding.pager
        viewPager.adapter = productListAdapter

        TabLayoutMediator(binding.tabLayout, viewPager) { tab, position ->
            tab.text = categoryList[position].name
        }.attach()
    }
}
ViewPager2의 Adpater로 사용한 ProductListAdapter는 FragmentStateAdapter3 를 확장한 클래스이다. FragmentStateAdapter는 인자값으로 어답터를 사용할 프래그먼트를 넘겨줘야 한다. 위의 코드에서 보면 productListAdapter = ProductListAdapter(this)로 ProductListFragment 자체를 this로 넘겨준 것을 볼 수 있다.
[ProductListAdapter.kt]
class ProductListAdapter(fragment: Fragment) : FragmentStateAdapter(fragment){
    override fun getItemCount(): Int {
       return categoryList.size
    }

    override fun createFragment(position: Int): Fragment {
        val fragment = ProductListPagerFragment()
        fragment.arguments = Bundle().apply {
            putInt("pos", position)
        }
        return fragment
    }
}

data class Category(
    val id: Int,
    val name: String
)

val categoryList = listOf(
    Category(0, "여성의류"),
    Category(1, "남성의류"),
    Category(2, "가전제품"),
    Category(3, "생활용품"),
    Category(4, "반려동물용품"),
    Category(5, "식품")
)
FragmentStateAdapter를 확장한 클래스는 getItemCount와 createFragment를 오버라이드해야 하는데, 나는 createFragment에서 ProductListPagerFragment를 리턴했다. 몇 번째 프래그먼트인지 ProductListPagerFragment에게 알려주기 위해서 argument로 position값도 같이 넘겨주었다.
<?xml version="1.0" encoding="utf-8"?>
<layout
    xmlns:android="http://schemas.android.com/apk/res/android"
    xmlns:tools="http://schemas.android.com/tools"
    xmlns:app="http://schemas.android.com/apk/res-auto"
    >
    <androidx.constraintlayout.widget.ConstraintLayout
        android:layout_width="match_parent"
        android:layout_height="match_parent"
        android:layout_marginTop="10dp"
        >
        <TextView
            android:id="@+id/fragment_num_tv"
            android:layout_width="wrap_content"
            android:layout_height="wrap_content"
            app:layout_constraintLeft_toLeftOf="parent"
            app:layout_constraintRight_toRightOf="parent"
            app:layout_constraintTop_toTopOf="parent"
            app:layout_constraintBottom_toBottomOf="parent"
            />
    </androidx.constraintlayout.widget.ConstraintLayout>

</layout>
[ProductListPagerFragment.kt]
class ProductListPagerFragment : Fragment() {
    lateinit var binding: FragmentProductlistpagerBinding
    override fun onCreate(savedInstanceState: Bundle?) {
        super.onCreate(savedInstanceState)
    }
    override fun onCreateView(
        inflater: LayoutInflater,
        container: ViewGroup?,
        savedInstanceState: Bundle?
    ): View? {
        binding = DataBindingUtil.inflate(inflater,R.layout.fragment_productlistpager,container,false)
        return binding.root
    }

    override fun onAttach(context: Context) {
        super.onAttach(context)
    }

    override fun onViewCreated(view: View, savedInstanceState: Bundle?) {
        arguments?.takeIf { it.containsKey("pos") }?.apply {
            val pos:Int = getInt("pos")
            // position 정보 이용하여 작업하기..
            binding.fragment_num_tv.text = "${pos}번째 프래그먼트"
        }
        binding.lifecycleOwner = this
    }
}
FragmentStateAdapter에서 생성된 프래그먼트인 ProductListPagerFragment에서 넘겨받은 position값을 가지고 몇 번째 프래그먼트인지를 알 수 있고, 이것을 가지고 필요한 작업을 해주면 된다. 🔨
[참고 사이트]
1: 안드로이드 Swipe View 관련 공식 문서
2: 안드로이드 TabLayoutMediator 관련 공식 문서
3: 안드로이드 FragmentStateAdapter 관련 공식 문서
 Activity Lifecycle 이해하기